

Magento 2 Custom Form

- for Magento 2.4.x (CE, EE)
This powerful extension allows you to create and manage purchase orders with customizable approval workflows based on purchase order.
This powerful extension allows you to create and manage purchase orders with customizable approval workflows based on purchase order.


User Guide
The Custom Form for Magento 2 extension allows store owners to effortlessly create and manage multiple forms using an intuitive drag-and-drop builder. With support for a wide range of input field types, you can design contact forms, feedback forms, surveys, and more—without touching a single line of code.Forms can be easily embedded on any CMS page, enabling flexible placement throughout your store. After submission, customers can be redirected to a custom thank-you page or any URL of your choice. All submitted data is securely captured and stored for further processing or follow-up. This extension is fully compatible with the Hyvä storefront and works seamlessly with Hyvä Checkout out of the box.
Features
- Supports various input field types
- Intuitive drag-and-drop form builder
- Easily embed forms on any CMS page
- Redirect users to a custom page after submission
- Capture and store customer information
- Fully compatible with Hyvä storefront
- Works seamlessly with Hyvä Checkout by default
Steps:

Extension Installation
- Download the zip file
- Extract and put it into /app/code/
- Open Cli in the Magento directory and follow the below commands:
- php bin/magento s:up
- php bin/magento s:d:c
- php bin/magento s:s:d -f
- php bin/magento i:rei
- php bin/magento c:f
- php bin/magento cron:install
- php bin/magento cron:run
Configuration
- To set up email notifications, navigate to: Stores → Configuration → VDCStore Extensions → Custom Forms.
Admin Notification
- To set up email notifications, navigate to: Stores → Configuration → VDCStore Extensions → Custom Forms.

General Configuration :
- Enable Email Notifications – Set to “Yes” to activate automatic email alerts.
- Recipient Email Address – Define the email address where notifications should be sent.
- Email Sender Identity – Choose the sender contact to appear in outgoing emails.
- Email Template Selection – Select the template that will format the email content.
Reply Form Configuration
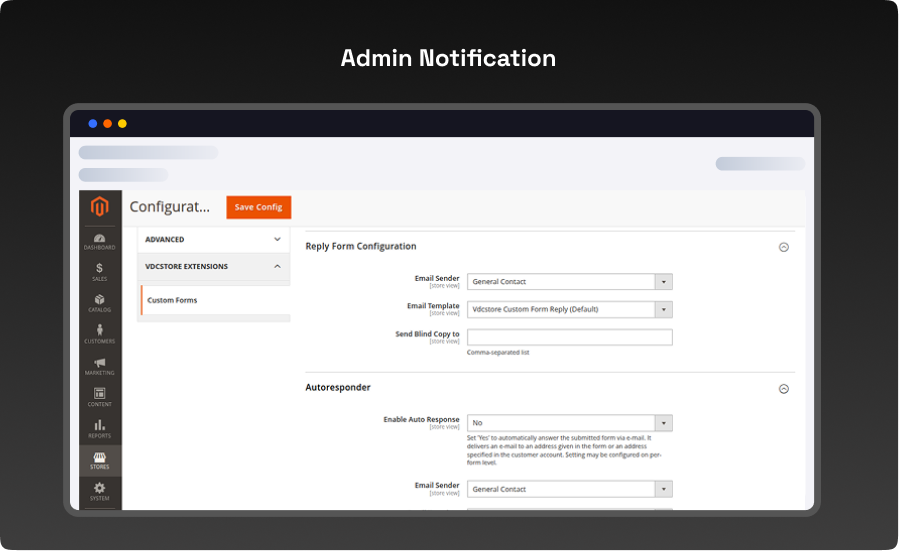
- In the Reply Form Configuration tab, choose the Email Sender, select the Email Template, and specify the Blind Copy (BCC) recipient.
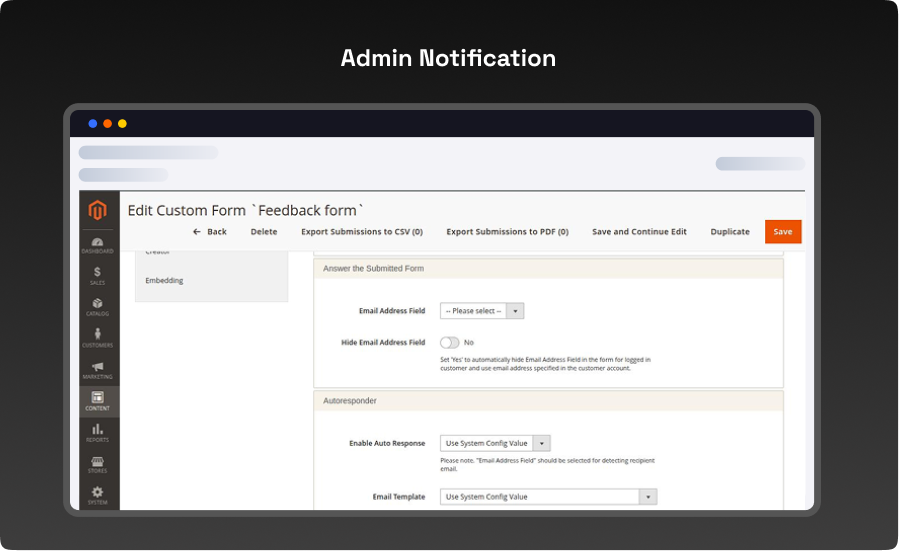
Autoresponder
- The extension also allows you to set up automatic responses.
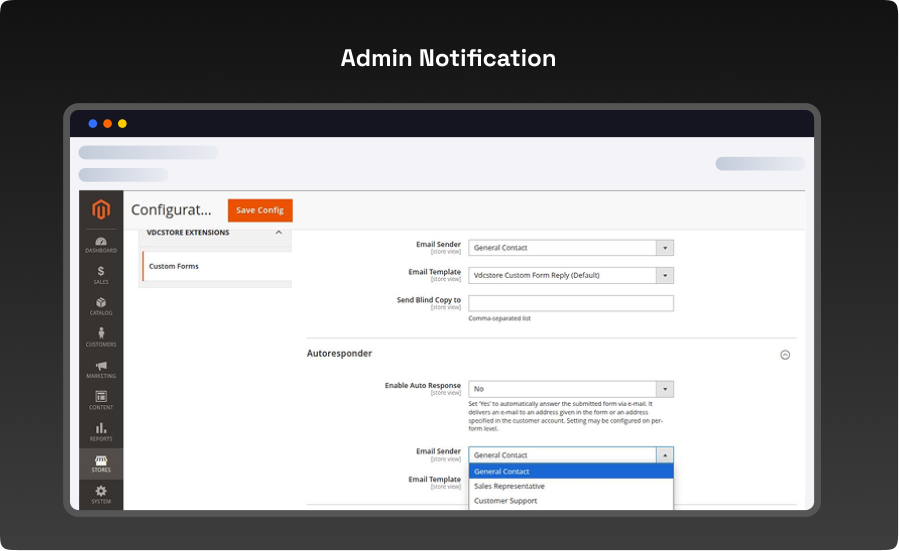
- Enable Auto Response – Set this to “Yes” to automatically send a response email after form submission. The email will be delivered to the address entered in the form or the customer’s account email. This setting can be configured individually for each form.Email Sender & Template – Choose the sender identity and select an email template (default: Amasty Custom Form Autoresponder).
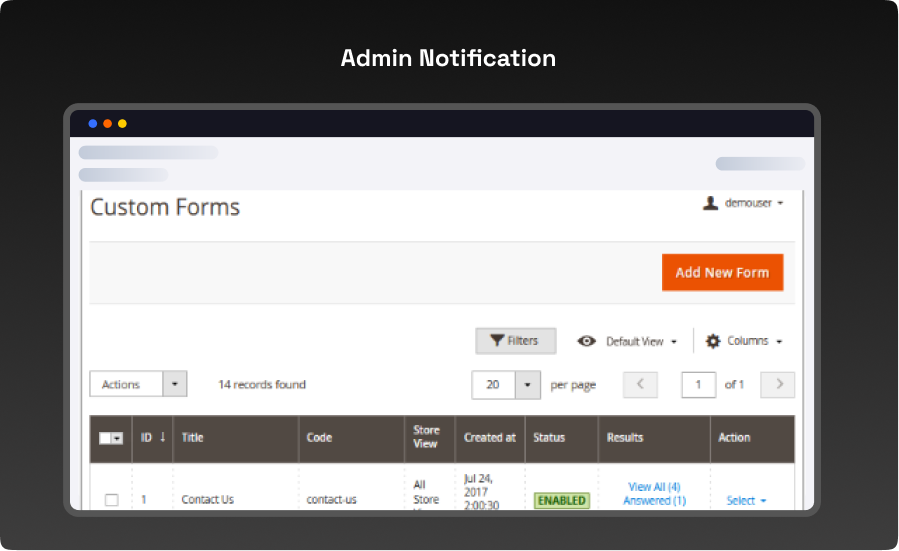
Custom Form Grid
- To view and manage all your created forms, navigate to: Content → Custom Forms → Forms.
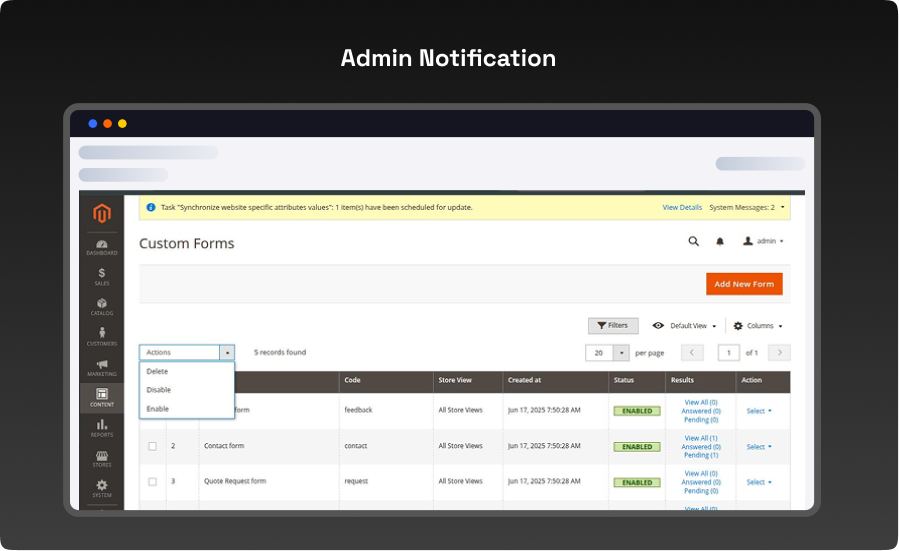
- You can conveniently manage your forms from the grid view — track results, edit or duplicate forms using the actions column. Export submitted form data as CSV or PDF files when needed.
- Use the Actions dropdown for bulk operations such as Delete, Disable, or Enable.
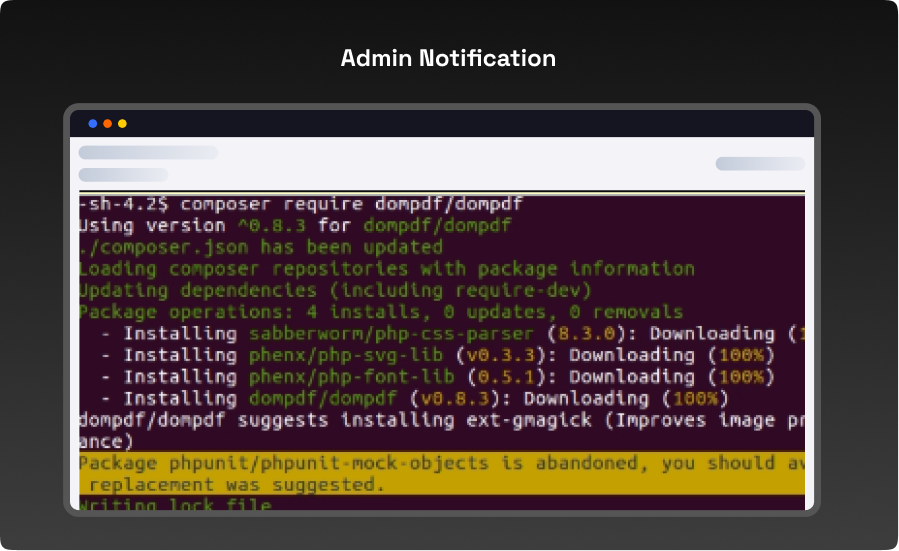
- To enable PDF export, ensure the dompdf/dompdf library is installed. Run the following command in your site’s root directory:
- composer require dompdf/dompdf
Custom Form Creation
- To see and manage all created forms in one place, go to Content → Custom Forms → Forms.
- On a handy grid you can easily track forms Results, Edit, Duplicate them in the action column. Also, you can Export Submitted Data to CSV or PDF files. Perform mass actions via Actions dropdown menu (Delete/Disable/Enable) if needed.
- To use PDF functionality, please install the library dompdf/dompdf. To do this, run the command “composer require dompdf/dompdf” in the main site folder.
- Click here to create Google api key.
Form Information
- To create a new custom form, start by configuring the general settings..
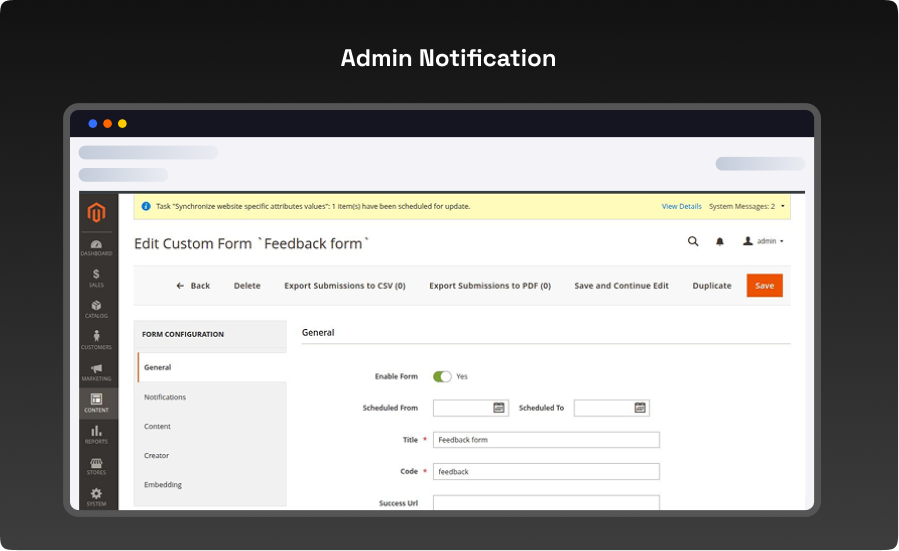
- Form Status – Enable or disable individual forms as needed
- Schedule Display – Define the start and end dates for when the form should be visible (e.g., during specific campaigns).
- Form Title – Enter a title to identify the form in the custom forms grid.
- Form Code – Use a unique code to reference the form for internal or administrative purposes.
- Success URL – Enter “/” to submit the form via AJAX (no page reload). Leave blank to redirect users to the homepage. Note: file uploads always require a page reload.
- Store View Assignment – Choose which store views the form should appear on.
- Success URL – Enter “/” to submit the form via AJAX (no page reload). Leave blank to redirect users to the homepage. Note: file uploads always require a page reload.Store View Assignment – Choose which store views the form should appear on.
- Target Customer Groups – Specify which customer groups can access and submit the form.
- Track Submission Source – Enable to record the referring page URL for each submission.
- Survey Mode – Enable to limit users to a single form submission. Disable to allow multiple submissions by the same user.
Email Notifications
- You can configure admin notifications individually for each form. These settings will override the defaults set in the General Settings.
- Send Notification to Email – Enable this option to notify store admins whenever a new form is submitted.
- Hide Email Address Field – Set to “Yes” to hide the email input field for logged-in customers. The system will use the email address from the customer’s account automatically.
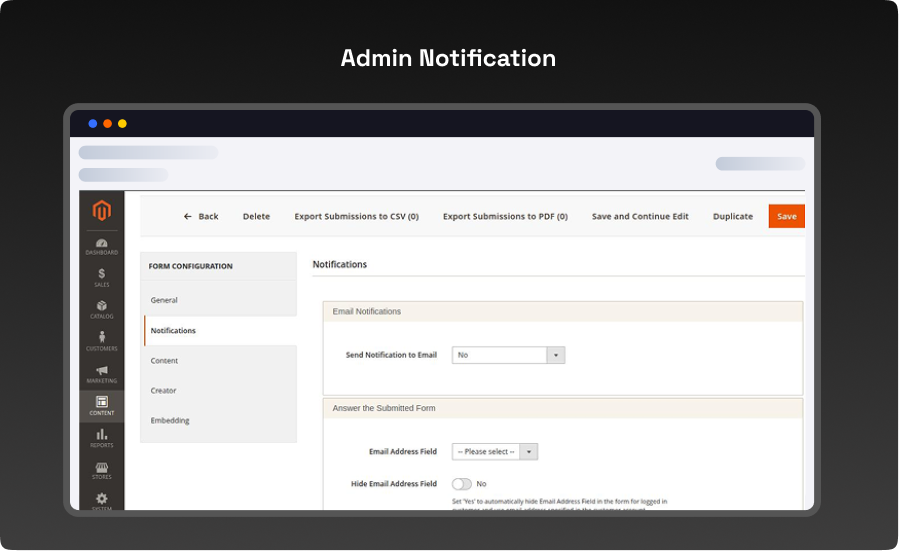
- Auto Response Toggle – Turn the autoresponder on or off, or inherit the value from the system configuration.
- Email Template Selection – Choose from default templates, use the system default, or create a custom template to appear in this dropdown.
Form Content
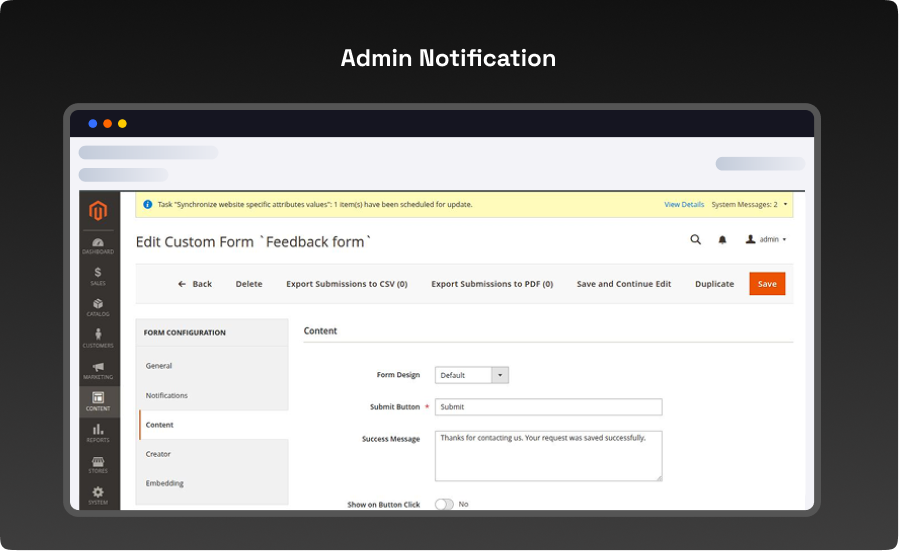
- Form Design – Choose from three design options: Default (automatically selected unless changed), Linear Theme, or Circle Theme.
- Submit Button Label – Enter custom text to be displayed on the form’s submission button.
- Success Message – Define the confirmation message users will see after submitting the form successfully.
- Display on Button Click – Enable this setting to show the form in a popup triggered by a button click.
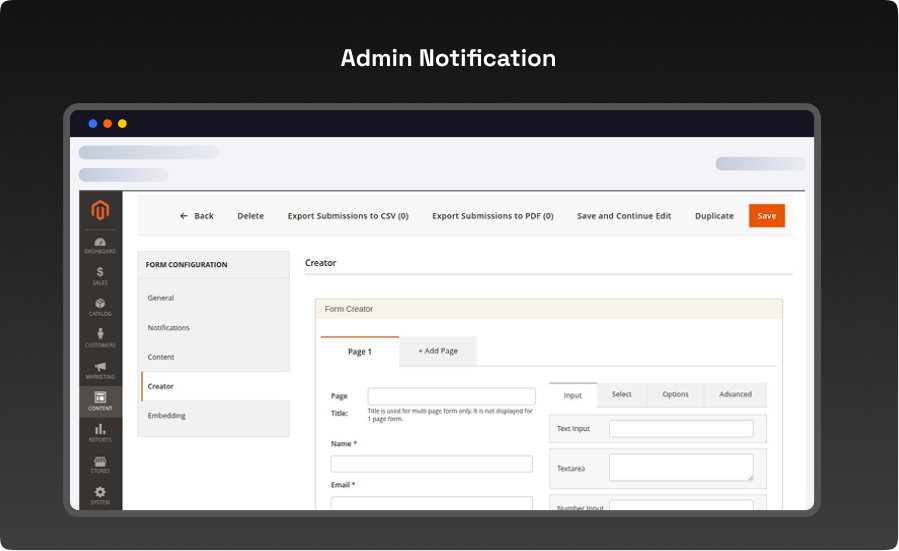
Form Constructor
- Within the Form Creator tab, you’ll have access to a wide variety of input fields and form components. Simply drag and drop your desired elements into the form builder area. If your form requires multiple steps or sections, you can add additional pages using the +Add Page option.
1. Input Type
- In the Input tab, you’ll find various field options including:
- Text Input – Ideal for short – entries like names
- Text Area – Best suited for longer messages or customer feedback
- Number Input – For numeric values only
- Google Map – Allows users to pinpoint a location using an interactive map
2. Select Type
- The Select tab provides options to include:
- Date Picker – For selecting specific dates
- Time Picker – For choosing a time value
- File Upload Field – Allows users to attach files with their submission
3. Options Type
- The Options tab includes a variety of fields that present users with predefined choices, such as:
- Dropdown Menu – A collapsible list of selectable options
- List Box – Displays multiple options in a box format
- Two Checkbox Variants – For single or multiple selections
- Two Radio Button Styles – For selecting one option from a group
4. Advanced Elements
- You can enhance your custom forms further using the Advanced tab, which includes various heading styles and layout elements to help organize and structure your forms more effectively.

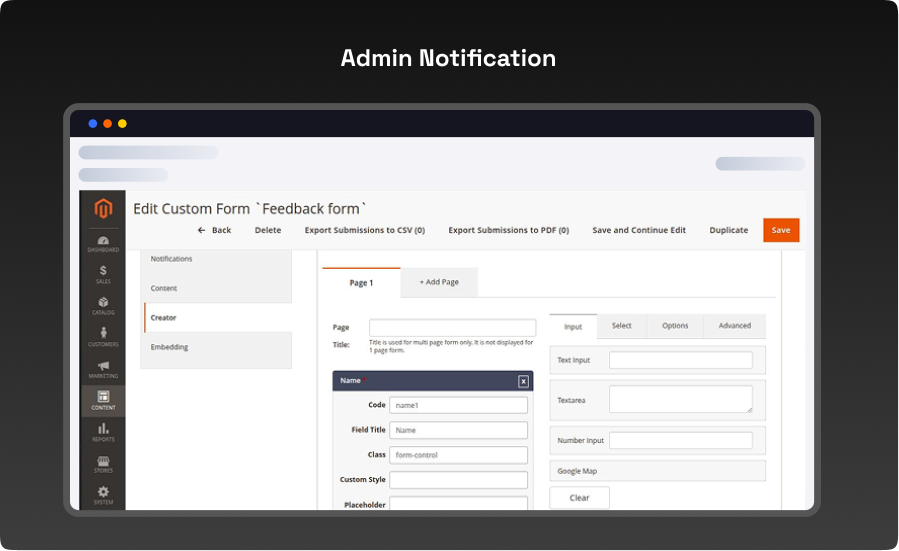
To modify a field:
- Hover over the element and click the Edit icon.
- This opens a configuration panel where you can set specific properties.
Available Field Settings:
- Code – Assign an internal identifier for admin-side reference.
- Field Title – Set the visible name of the field. This title is also useful for filtering submissions.
- Class – Indicates the input type (e.g., text, dropdown, etc.).
- Custom Style – Apply custom CSS styles to individual fields (e.g., font, color, spacing).
- Required – Toggle this on to make the field mandatory before submission.
- Tooltip – Add explanatory text that will appear as a tooltip on the frontend.
- Options – Define values for radio buttons, checkboxes, and dropdowns.
- Toggle – Enable this to visually switch the checkbox into a toggle-style field.
- Validation Rules – Set rules to ensure input follows a required format. Regular expressions are supported.
- Default Value – Pre-fill the field with a suggested or common entry.
- Max Length – Limit the number of characters allowed in a text-based field.
- Dependency Settings – Make a field appear only when a specific option is selected in another field.
- Layout Configuration – Choose from 1, 2, or 3-column layouts. In multi-column layouts, fields are positioned side-by-side within the same row.
Embedding
- You can embed any custom form into a CMS page by copying the form’s code and pasting it into the desired CMS content area.
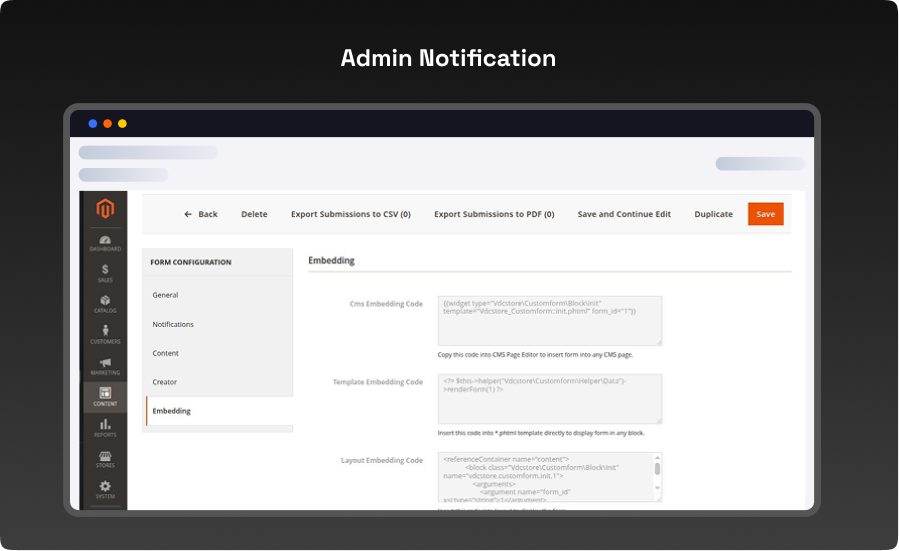
Embedding Custom Forms into Your Store Layout
- To display a custom form anywhere on your storefront, you can insert its Layout Embedding Code directly into the layout file.
- Alternatively, you can integrate the form into any CMS page using Magento widgets:
- Navigate to Content → Widgets → Add Widget, then select the form and specify its Form ID during setup.Within the widget settings, you can also define how the form appears — either as a standard inline block or as a popup. This allows you to showcase the same form in various formats across different pages to suit your design needs.
Track Submitted Data
- To monitor and manage customer submissions, navigate to: Content → Custom Forms → Submitted Data..
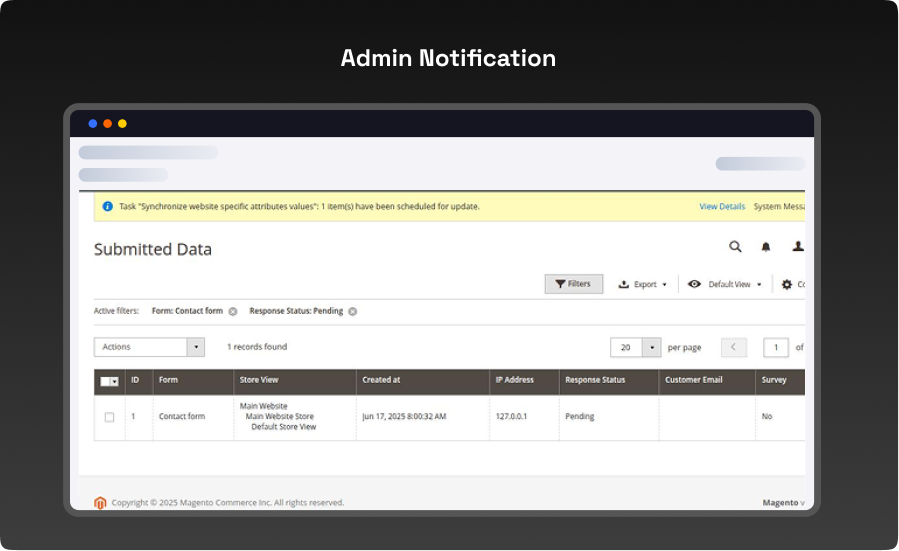
Exporting and Filtering Submissions
- To Export A Specific Submission, Select Its Checkbox In The Grid, Go To The Export Tab, And Click The Export Button. You Can Choose Between Csv Or Pdf Formats.
- Use The Available Filters To Quickly Locate Submitted Data For A Particular Form – All Custom Forms Are Automatically Included In The Filter Options.
- You Can Also Filter Results By Response Status, Customer Email, Or Survey Type (For Survey-based Forms).
- Click On Any Submission To View Its Complete Details.
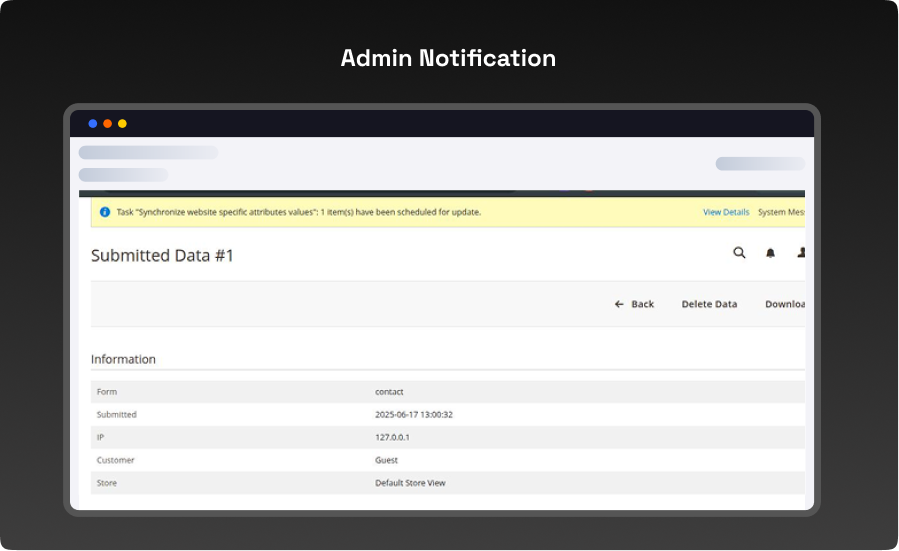
- Admin is able to answer straight from the customers’ submitted data.
What you'll obtain with our Magento Technical Audit
With VDC Store's Magento eCommerce technical audit you'll gain expert separate in-depth analysis with an exhaustive summary of the state of your store's code grade and overall usability.

-

An organizational summary of discoveries with preferences and a brief overview
-
3rd party extensions initial review
-
An exact description of results and suggested solutions
-
Database innocence review (to secure that data is recorded precisely as planned)
-
Top preferences for your architects
-
Code quality examination (periodic reflection of your store source code)
-
Examination of possible Magento core design changes
-
Speed and execution analysis (HTTP requests, optimizations, exhale headers…)
By a technical appraisal, the client not only obtains information about the issues the store is facing but also this examination by VDC Store allows them to acquire beneficial information and concepts for setting up programs to enhance sales and conversion drivers.
Our analysis appreciates the essence of your business. We are not utilizing an automatic procedure that is used in every case. We want to make sure you end up with suggestions based on the exact condition of your store. Start the discussion about the Magento technical audit you're curious in by filling out the Contact Us form.
Why Choose the VDCStore Magento 2 Custom Form Extension
Every store has unique data-collection needs — whether it’s capturing quotations, surveys, product inquiries, returns info, customer feedback, or event registrations. The VDCStore Magento 2 Custom Form Extension empowers you to build unlimited forms with complete flexibility using various field types including text, textarea, dropdown, checkbox, radio buttons, file upload, and more. You get full control over form placement, validation rules, and email routing without any coding, enabling smarter interactions with your customers and streamlined data collection. Designed natively for Magento 2 and optimized for performance, this extension enhances engagement, supports business processes, and gives you the insights you need — all while keeping the experience intuitive for both admins and users.
Live Demo


Explore Our Customer Reviews
Dr Zahid
 Verified
Very happy with the website service!
Very happy with the website service. Great communication, high-quality design, and timely delivery. Everything was handled professionally, and the end result exceeded our expectations. Would definitely recommend.
Ravinder Gupta
VerifiedGreat experience
Great experience working with this software company. The team is professional, responsive, and delivered exactly what was promised.
Erel Support
VerifiedExtremely satisfied
I am extremely satisfied with the website they built for us. They listened carefully to our ideas, suggested improvements, and delivered a site that perfectly represents our brand.The process was smooth,strees-free,well organized.Great attention to detail and excellent support even after launch
Anurag Kumar
VerifiedGreat experience working with this team
We had a great experience working with this team for our website. They were Professional, responsive, and clearly understood our requirements from the start. The final website looks clean and modern and works perfectly across all devices. Communication was smooth throughout the project, and everything was delivered on time. Highly recommended for anyone looking for reliable website services and extensions.
Amol Bhoyate
VerifiedReliable, Professional, and High-Quality Web Development
We had a great experience working with VDC Store for our website development needs. From the very beginning, their team was professional, responsive, and attentive to our requirements. They clearly understood our vision and delivered a modern, user-friendly website that aligns perfectly with our business goals.
Comparison
Explore Our Hyvä Theme Demos
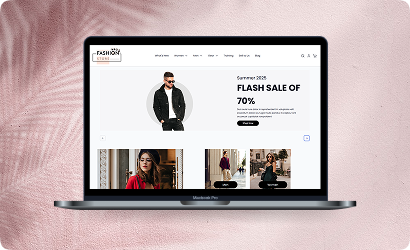
Fashion Store
Experience lightning-fast browsing and seamless product discovery in our Fashion demo, designed for smooth navigation and instant page loads.

Jewelry Store
Experience a sleek, lightning-fast browsing experience with our Jewelry demo — optimized for smooth navigation and instant product loading. Modern design meets high performance for flawless shopping.
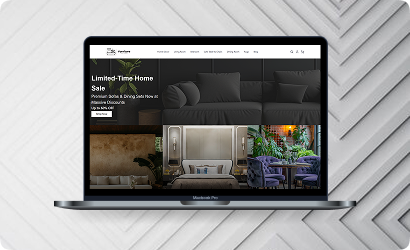
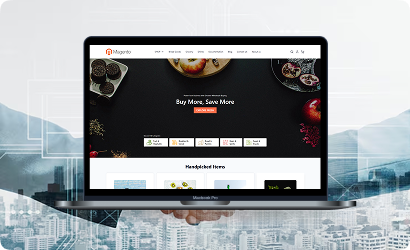
Furniture Store
Our Furniture demo delivers fast, responsive pages and seamless product filtering, letting users explore large collections without delay. Performance-driven design for ultimate online convenience.
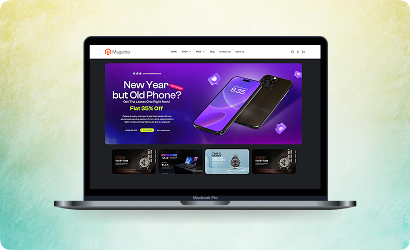
Electronics Store
Explore the Electronics demo with blazing-fast load times and smooth interactive features, ensuring a high-speed, immersive shopping experience. Optimised for tech-savvy customers.

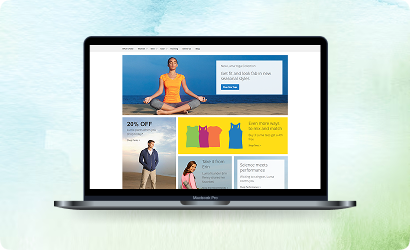
Fitness Store
The Fitness demo combines speed and responsiveness with effortless navigation, making it easy to browse workout gear and accessories quickly. Built for fast, engaging online fitness shopping.

Beauty Store
Enjoy instant load times and smooth interactions in our Beauty demo, designed for a seamless, high-performance shopping journey. Perfect for browsing beauty products without interruptions.
B2B Store
Our B2B demo emphasizes speed and efficiency, handling bulk catalogs and quick ordering without lag. Engineered for high-performance business-to-business operations.
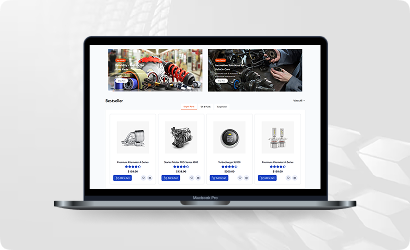
Auto Store
The Auto demo offers responsive navigation and rapid product searches, making car parts and accessories easy to find. Optimized for high-speed, performance-driven shopping.
Hyvä Demo Store
Experience the Hyvä demo’s cutting-edge performance with near-instant page loads, smooth animations, and superior responsiveness. Designed for modern, lightning-fast eCommerce.
FANTASTIC AND PREMIUM CLIENTS
Trusted by
Need More Help?
Save time by starting your support request online and we'll connect you to an expert. Save time by starting your support request.