

Magento 2 Blog

- for Magento 2.4.x (CE, EE)
VDCStore Blog Module brings a fully featured, native blog experience to your Magento 2 store — no third-party platforms, no clunky workarounds. Publish engaging posts, organize content with nested categories, showcase authors, and let customers interact through comments, all from withi...
VDCStore Blog Module brings a fully featured, native blog experience to your Magento 2 store — no third-party platforms, no clunky workarounds. Publish engaging posts, organize content with nested categories, showcase authors, and let customers interact through comments, all from within your familiar Magento Admin panel. Whether you're looking to drive organic traffic, build brand authority, or keep your audience informed about new products and updates, the VDCStore Blog Module gives you everything you need to run a professional blog — directly integrated with your store.


User Guide
The VDCStore Blog Module adds a fully featured blog to your Magento 2 store. This guide walks through every admin and frontend step, illustrated with annotated screenshots, so you can configure, manage, and view your blog confidently.
Features
Extension Installation
- Download the zip file
- Extract and put it into /app/code/
- Open Cli in the Magento directory and follow the below commands:
- php bin/magento s:up
- php bin/magento s:d:c
- php bin/magento s:s:d -f
- php bin/magento i:rei
- php bin/magento c:f
- php bin/magento cron:install
- php bin/magento cron:run
-
Step 1 – Configure Blog Settings
- Before using the blog, configure the global settings from the Magento Admin panel.
- Navigation: Stores → Configuration → VDCStoreStore Blog → Blog Settings
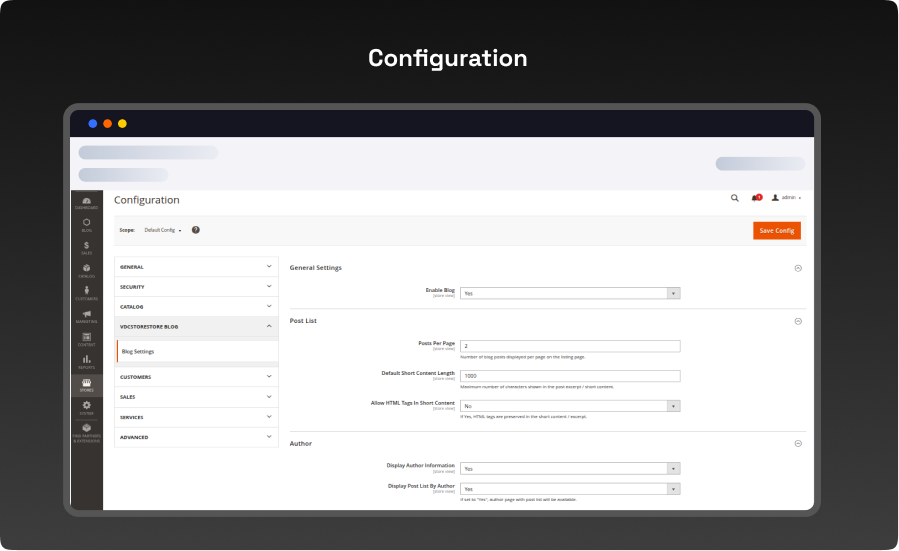
- Set Enable Blog to Yes to activate the module on the storefront.
- Under Post List, set Posts Per Page (default: 2) to control how many posts appear on the listing page.
- Set Default Short Content Length (default: 1000) — the maximum number of characters shown in the post excerpt.
- Set Allow HTML Tags In Short Content to Yes if you want HTML preserved in excerpts.
- Under Author, toggle Display Author Information and Display Post List By Author as needed.
- Set Default Robots (e.g. NOINDEX, FOLLOW) for SEO control on blog pages.
- Click Save Config when done.
Step 2 – Manage Blog Categories
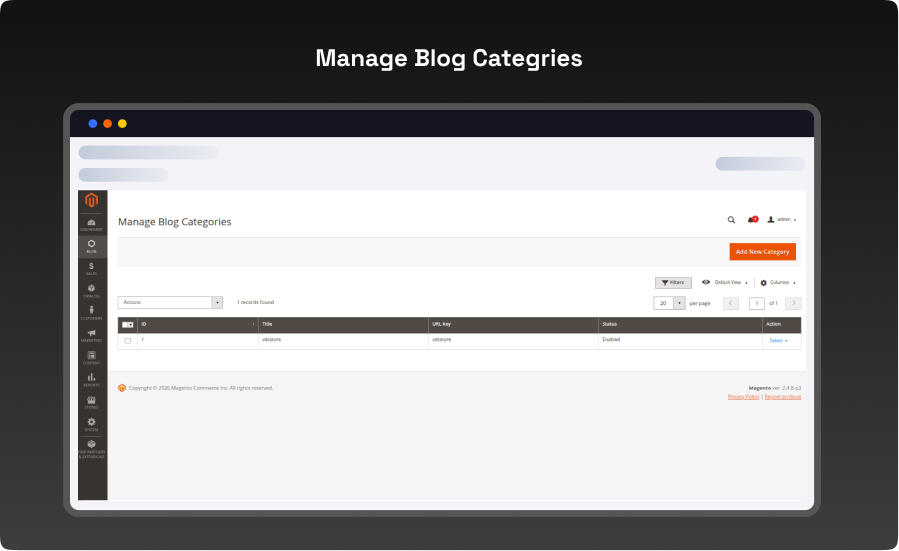
- Categories help organise your posts. The Manage Blog Categories grid lists all existing categories.
- Navigation: Blog (left sidebar) → Manage Blog Categories
- The grid shows ID, Title, URL Key, Status, and Action columns.
- Use the Filters button to search/filter categories.
- Click Select → Edit in the Action column to edit an existing category.
- Click Add New Category (top-right) to create a new one.
Step 3 – Create a New Blog Category
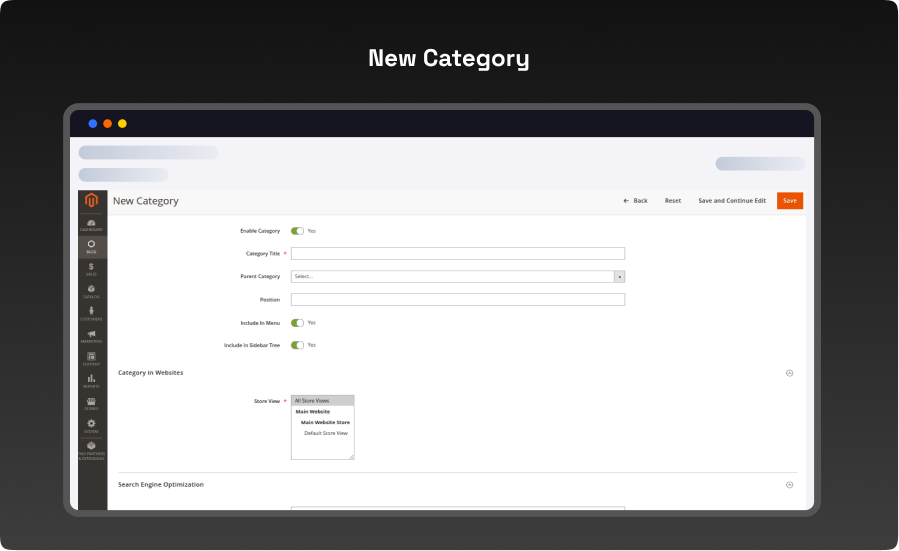
- Use the New Category form to define a category before assigning posts to it
- Navigation: Blog → Manage Blog Categories → Add New Category
- Toggle Enable Category to Yes.
- Enter a Category Title (required).
- Optionally select a Parent Category to build a nested hierarchy.
- Set Position to control the display order.
- Toggle Include In Menu and Include In Sidebar Tree as needed.
- Under Category in Websites, select the Store Views where this category should appear.
- Fill in URL Key, Meta Title, Meta Keywords, and Meta Description for SEO.
- Click Save (or Save and Continue Edit).
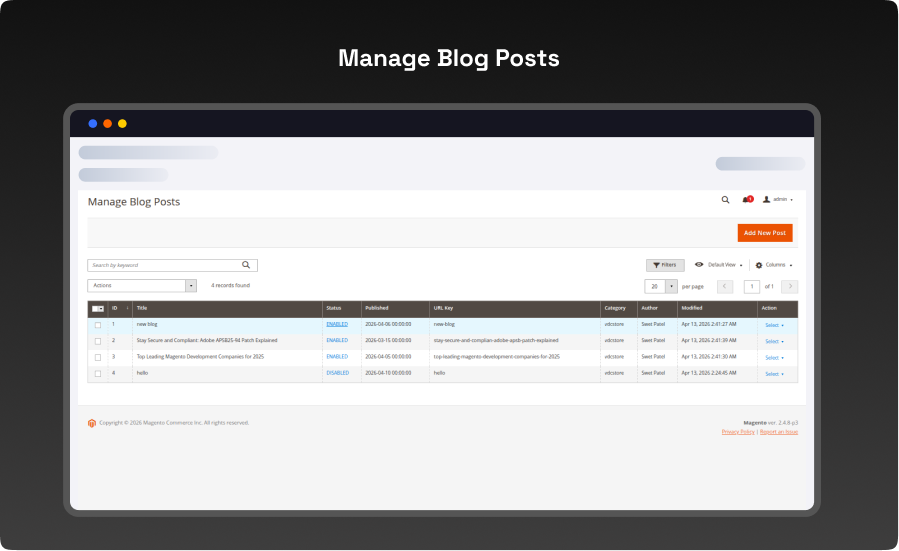
Step 4 – Manage Blog Posts
- The Manage Blog Posts grid is your central hub for all blog posts.
- Navigation: Blog (left sidebar) → Manage Blog Posts
- The grid shows ID, Title, Status, Published date, URL Key, Category, Author, Modified date, and Action.
- Use the Search by keyword box or Filters to quickly find posts.
- Posts can have status ENABLED (visible on storefront) or DISABLED (hidden).
- Use the Actions dropdown to bulk-enable, disable, or delete selected posts.
- Click Add New Post (top-right) to create a new post.
-
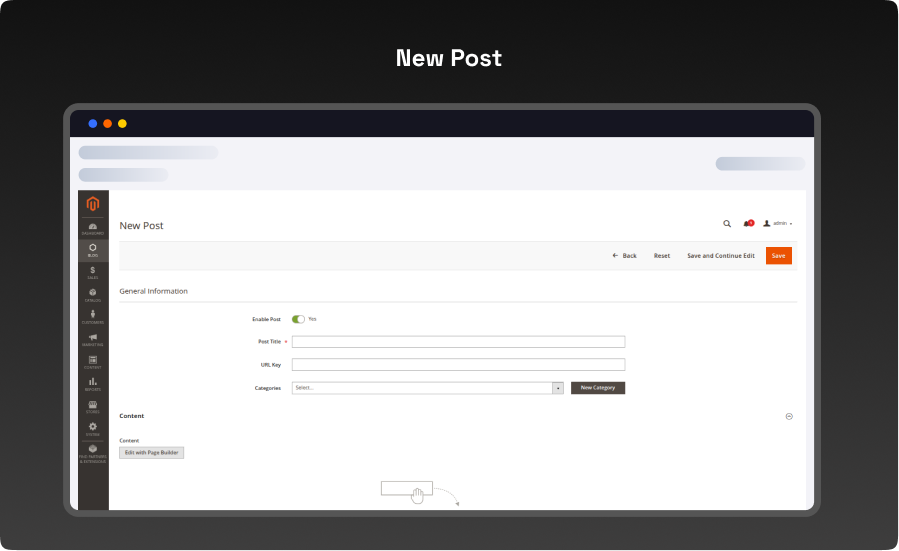
Step 5 – Create a New Blog Post (General Information & Content)
- The New Post form has several sections. This step covers General Information and Content.
- Navigation:Blog → Manage Blog Posts → Add New Post
- Toggle Enable Post to Yes to make it visible.
- Enter a Post Title (required).
- Enter a URL Key (auto-generated from the title if left blank).
- Select a Category from the dropdown, or click New Category to create one inline.
- Under Content, click Edit with Page Builder to build rich content using drag-and-drop rows, columns, blocks, and HTML.
- Add a Short Content (plain-text excerpt shown on the listing page).
-
Step 6 – Create a New Blog Post (Display Settings & SEO)
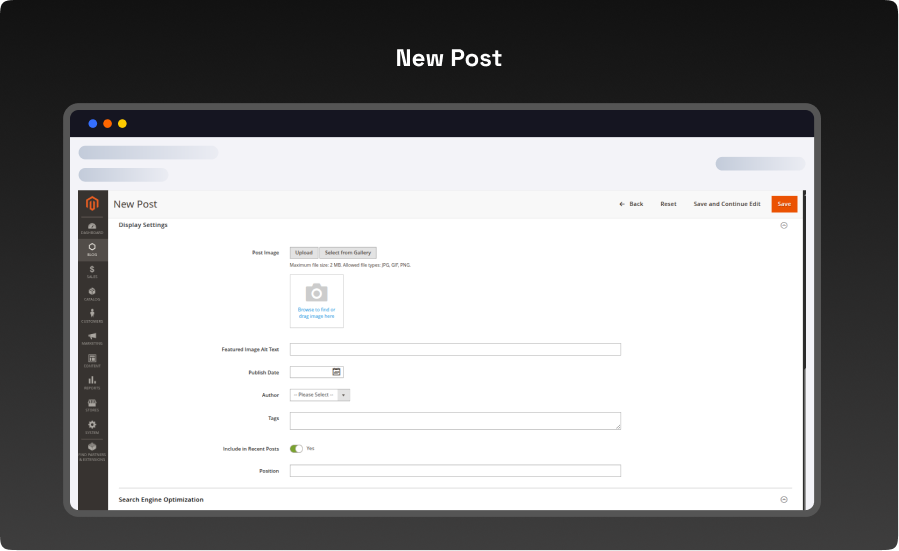
- Continue scrolling the New Post form to fill in display and SEO settings.
- Under Display Settings, upload a Post Image (max 2 MB, JPG/GIF/PNG) or select from the gallery.
- Add Featured Image Alt Text for accessibility and SEO.
- Set the Publish Date using the calendar picker.
- Select an Author from the dropdown.
- Add Tags (comma-separated keywords) to help with search and filtering.
- Toggle Include in Recent Posts to control sidebar visibility.
- Set Position to control sort order in listings.
- Under Search Engine Optimization, enter Meta Title, Meta Keywords, and Meta Description.
- Click Save when all fields are complete.
-
Step 7 – Blog Listing Page (Frontend)
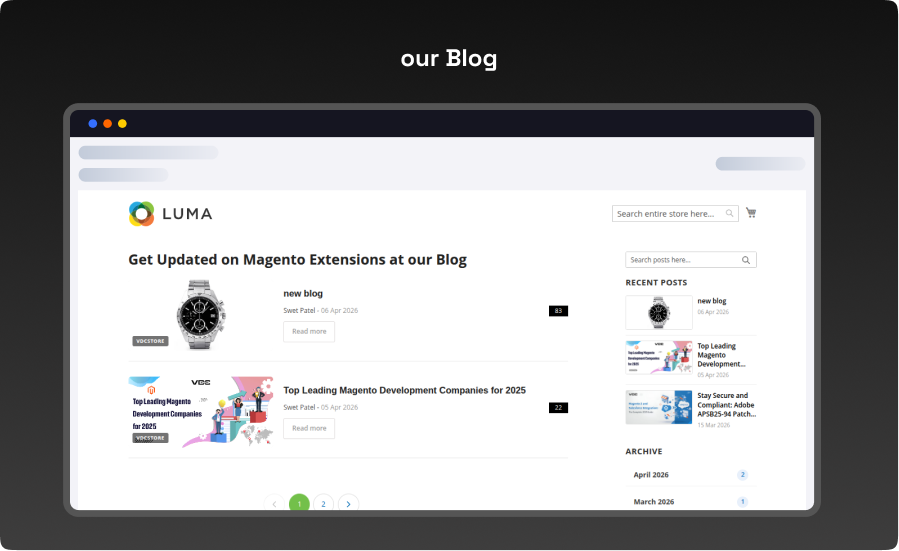
- Once posts are published, customers can browse them on the Blog Listing page.
- Frontend URL: yourstore.com/blog
- The page header reads "Get Updated on Magento Extensions at our Blog".
- Each post card shows the featured image, title, author, publish date, a view count badge, and a Read more button.
- The right sidebar shows a Search posts box, Recent Posts, and Archive sections.
- Pagination controls appear at the bottom when there are more posts than the configured Posts Per Page limit.
-
Step 8 – Blog Post Detail Page (Frontend)
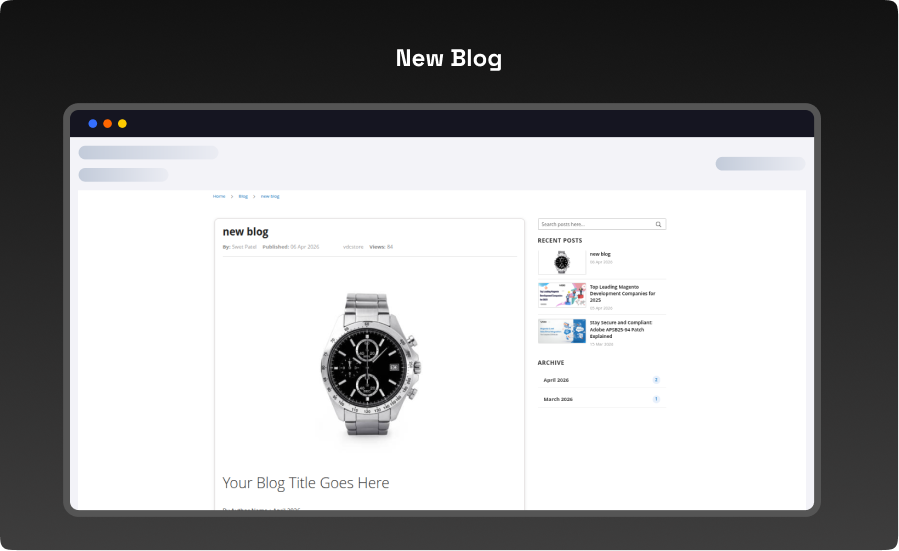
- Clicking Read more or the post title opens the full post detail page.
- The breadcrumb trail shows Home → Blog → Post Title.
- The post header displays the title, author, published date, category, and view count.
- The featured image is displayed prominently at the top of the content area.
- Page Builder content renders below the image with full formatting.
- The right sidebar shows Search, Recent Posts, and Archive — consistent with the listing page.
-
Step 9 – Comments Section (Frontend)
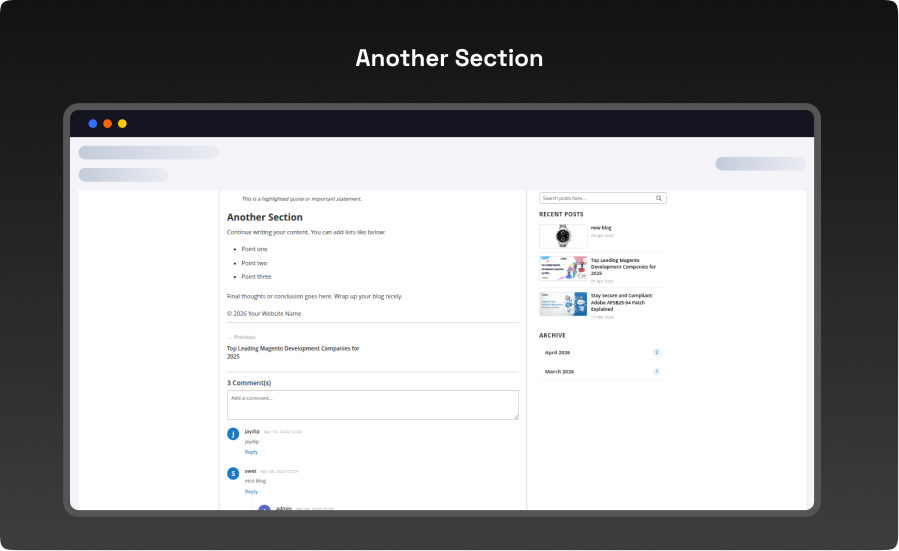
- Logged-in customers and guests can leave comments on posts.
- The comment count is shown above the comment area (e.g. "3 Comment(s)").
- Visitors can type in the Add a comment... textarea and submit.
- Each comment shows the commenter's avatar initial, name, date, and comment text.
- Nested replies appear indented below parent comments.
- The Previous Post link at the bottom lets readers navigate to the prior article.
-
Step 10 – Author Posts Page (Frontend)
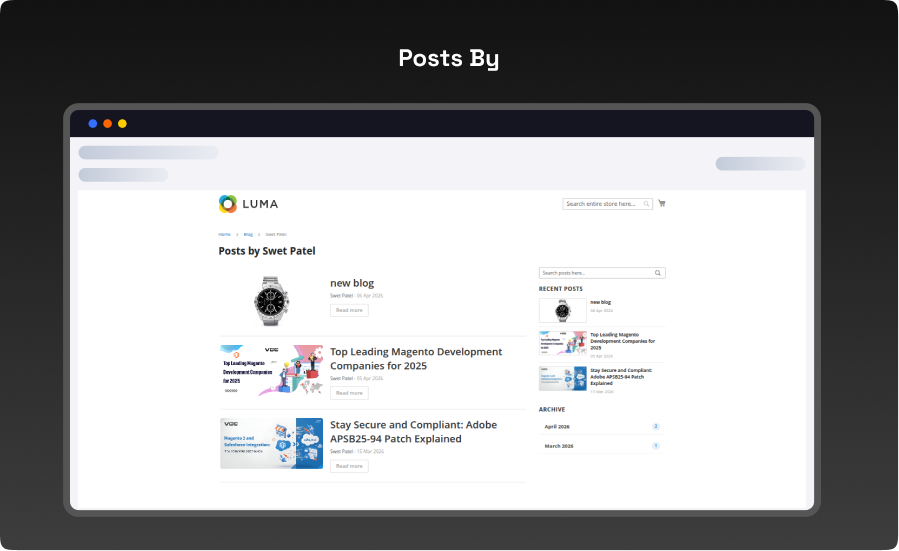
- When Display Post List By Author is enabled, clicking an author's name opens their dedicated page.
- Frontend URL example: yourstore.com/blog/author/author_name
- The page heading reads "Posts by [Author Name]".
- All posts by that author are listed with featured image, title, date, and Read more.
- The sidebar shows Search, Recent Posts, and Archive.
-
Step 11 – Category Posts Page (Frontend)
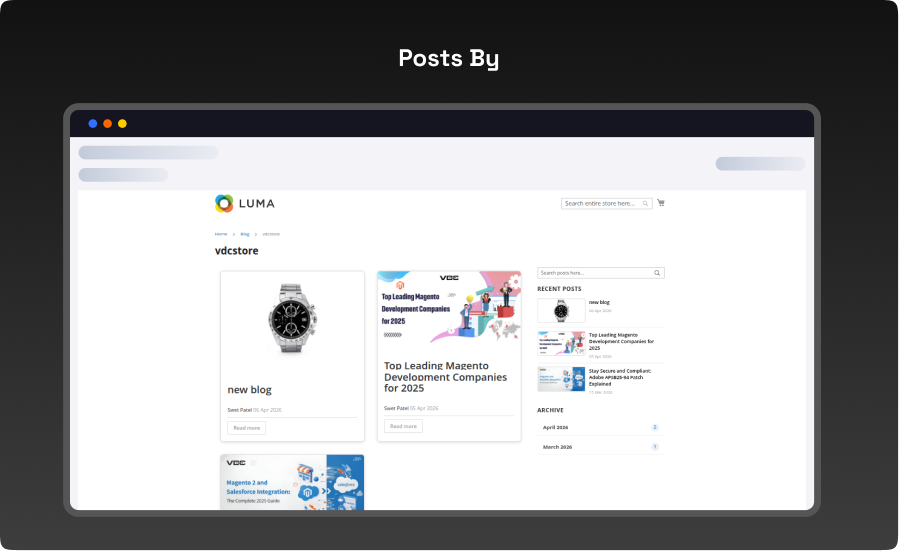
- Clicking a category name opens a grid of posts filtered by that category.
- URL example: yourstore.com/blog/category/category_name
- The breadcrumb shows Home → Blog → Category Name.
- Posts are displayed in a grid card layout with featured image, title, author, date, and Read more.
- The Archive section in the sidebar lets visitors browse posts by month.
- Multiple categories can be created and each will have its own dedicated URL.
What you'll obtain with our Magento Technical Audit
With VDC Store's Magento eCommerce technical audit you'll gain expert separate in-depth analysis with an exhaustive summary of the state of your store's code grade and overall usability.

-

An organizational summary of discoveries with preferences and a brief overview
-
3rd party extensions initial review
-
An exact description of results and suggested solutions
-
Database innocence review (to secure that data is recorded precisely as planned)
-
Top preferences for your architects
-
Code quality examination (periodic reflection of your store source code)
-
Examination of possible Magento core design changes
-
Speed and execution analysis (HTTP requests, optimizations, exhale headers…)
By a technical appraisal, the client not only obtains information about the issues the store is facing but also this examination by VDC Store allows them to acquire beneficial information and concepts for setting up programs to enhance sales and conversion drivers.
Our analysis appreciates the essence of your business. We are not utilizing an automatic procedure that is used in every case. We want to make sure you end up with suggestions based on the exact condition of your store. Start the discussion about the Magento technical audit you're curious in by filling out the Contact Us form.
Why Choose the VDCStore Magento 2 Blog Extension
The VDCStore Blog Module is a fully self-contained Magento 2 extension that adds a professional blogging platform directly inside your store. It covers everything from admin content authoring to frontend display — including post management, hierarchical categories, threaded comments, author pages, archive browsing, and SEO-ready URLs — all without requiring any third-party blogging tool or external service.
Live Demo


Explore Our Customer Reviews
Dr Zahid
 Verified
Very happy with the website service!
Very happy with the website service. Great communication, high-quality design, and timely delivery. Everything was handled professionally, and the end result exceeded our expectations. Would definitely recommend.
Ravinder Gupta
VerifiedGreat experience
Great experience working with this software company. The team is professional, responsive, and delivered exactly what was promised.
Erel Support
VerifiedExtremely satisfied
I am extremely satisfied with the website they built for us. They listened carefully to our ideas, suggested improvements, and delivered a site that perfectly represents our brand.The process was smooth,strees-free,well organized.Great attention to detail and excellent support even after launch
Anurag Kumar
VerifiedGreat experience working with this team
We had a great experience working with this team for our website. They were Professional, responsive, and clearly understood our requirements from the start. The final website looks clean and modern and works perfectly across all devices. Communication was smooth throughout the project, and everything was delivered on time. Highly recommended for anyone looking for reliable website services and extensions.
Amol Bhoyate
VerifiedReliable, Professional, and High-Quality Web Development
We had a great experience working with VDC Store for our website development needs. From the very beginning, their team was professional, responsive, and attentive to our requirements. They clearly understood our vision and delivered a modern, user-friendly website that aligns perfectly with our business goals.
Comparison
Explore Our Hyvä Theme Demos
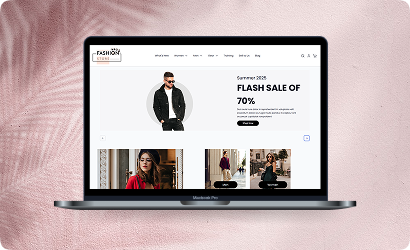
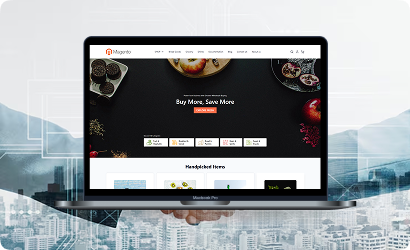
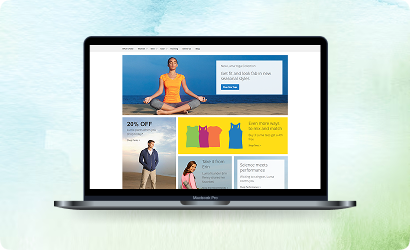
Fashion Store
Experience lightning-fast browsing and seamless product discovery in our Fashion demo, designed for smooth navigation and instant page loads.
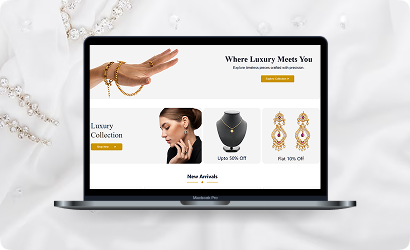
Jewelry Store
Experience a sleek, lightning-fast browsing experience with our Jewelry demo — optimized for smooth navigation and instant product loading. Modern design meets high performance for flawless shopping.
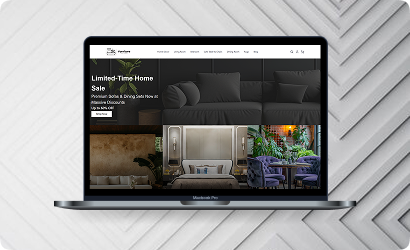
Furniture Store
Our Furniture demo delivers fast, responsive pages and seamless product filtering, letting users explore large collections without delay. Performance-driven design for ultimate online convenience.
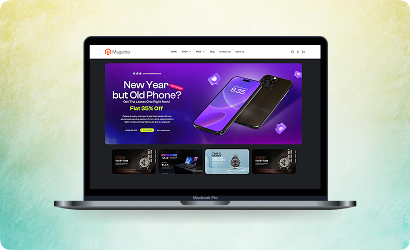
Electronics Store
Explore the Electronics demo with blazing-fast load times and smooth interactive features, ensuring a high-speed, immersive shopping experience. Optimised for tech-savvy customers.

Fitness Store
The Fitness demo combines speed and responsiveness with effortless navigation, making it easy to browse workout gear and accessories quickly. Built for fast, engaging online fitness shopping.
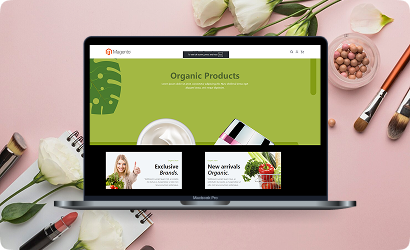
Beauty Store
Enjoy instant load times and smooth interactions in our Beauty demo, designed for a seamless, high-performance shopping journey. Perfect for browsing beauty products without interruptions.
B2B Store
Our B2B demo emphasizes speed and efficiency, handling bulk catalogs and quick ordering without lag. Engineered for high-performance business-to-business operations.
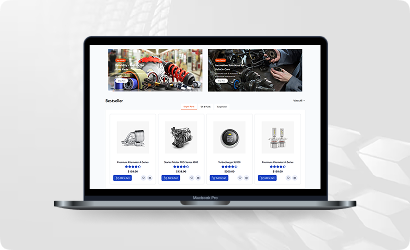
Auto Store
The Auto demo offers responsive navigation and rapid product searches, making car parts and accessories easy to find. Optimized for high-speed, performance-driven shopping.
Hyvä Demo Store
Experience the Hyvä demo’s cutting-edge performance with near-instant page loads, smooth animations, and superior responsiveness. Designed for modern, lightning-fast eCommerce.
FANTASTIC AND PREMIUM CLIENTS
Trusted by
Need More Help?
Save time by starting your support request online and we'll connect you to an expert. Save time by starting your support request.